Starlink for Van Life: Setup, Costs & Internet Guide (2025)
Starlink for van life in 2025 has changed the way vanlifers stay connected. Whether you’re a digital nomad, weekend traveler, or full-time road warrior, reliable internet is no longer a dream, it’s a reality. In this guide, I’ll show you exactly how to set up Starlink in your van, how much it costs, the power it uses, and whether it’s truly worth it for life on the road.
👉 If you’re serious about van life and want to stay connected anywhere in the U.S., this is the setup you’ve been waiting for.
What Is Starlink and Why Vanlifers Are Using It
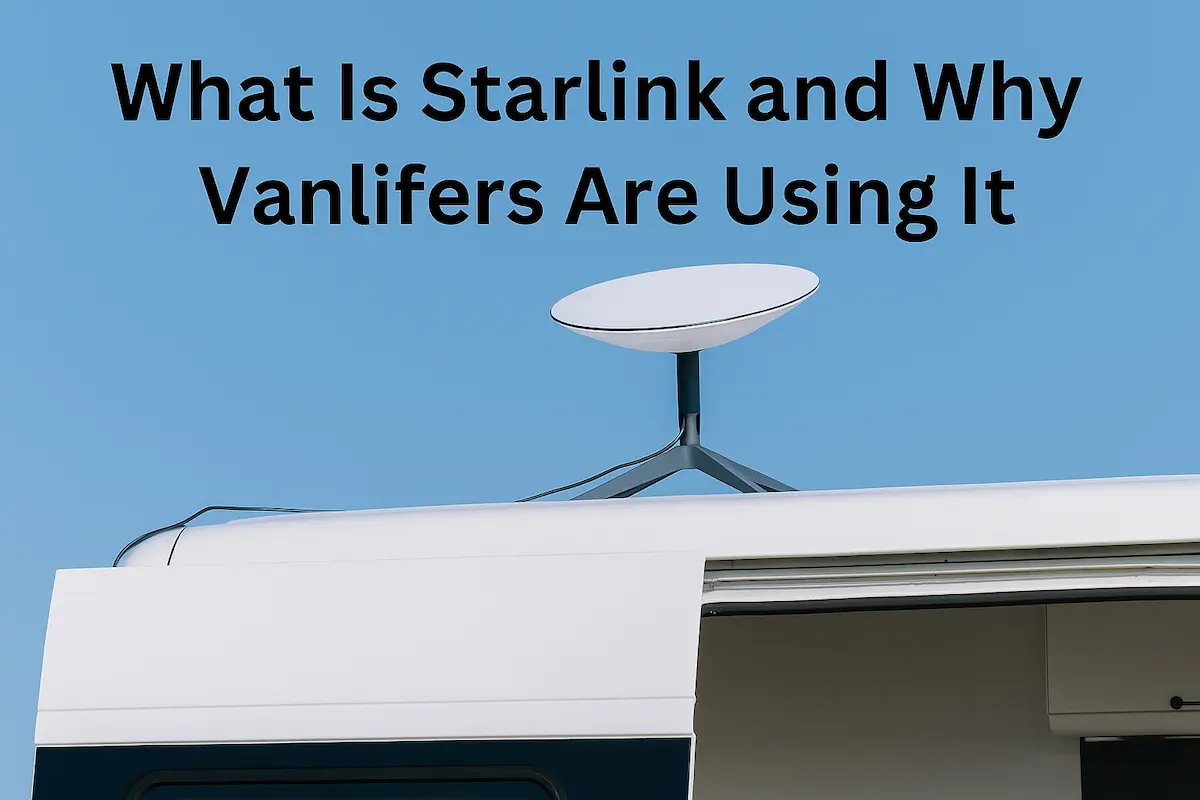
Starlink is a satellite internet service developed by SpaceX. Unlike traditional internet that relies on cables or cell towers, Starlink connects you directly to a network of low-orbit satellites. The result? Fast internet in places where cell service is weak or non-existent.
For vanlifers, this is a game-changer. No more hunting for coffee shops with Wi-Fi, struggling with dead zones, or relying on patchy mobile hotspots. With a clear view of the sky, Starlink lets you stream, work remotely, or video chat almost anywhere in the U.S.
Why It Beats Other Options
Coverage: Works in remote mountains, deserts, and forests where cell towers can’t reach.
Speed: Often faster than mobile hotspots or campground Wi-Fi.
Reliability: Less drop-off during peak hours compared to shared campground networks.
Flexibility: Perfect for remote workers, digital nomads, and long-term travelers.
👉 In short, Starlink has become the go-to choice for vanlifers who want freedom on the road without losing connection to work, family, and entertainment.
Starlink Setup for Van Life: Step-by-Step
Getting Starlink running in your van isn’t complicated, but a few smart choices (and the right gear) can save you headaches down the road. Here’s how to set it up the right way.
What You Need to Get Started
Starlink Dish (“Dishy”) – comes with the standard kit.
Router – included, gives you Wi-Fi inside the van.
Cables – standard length works, but a [30ft Starlink extension cable on Amazon] is worth it if you often park near trees.
Mount or Tripod – for roof setups or temporary ground placement. Roof mounts and magnetic mounts are both available on [Amazon].
Mounting and Positioning the Dish
Starlink needs a clear view of the sky. Even small obstructions like branches can interrupt service.
Roof Mount: Best for full-timers. Try a [Starlink roof mount kit] to keep your dish secure while traveling.
Tripod Setup: Good if you’re under trees, move the dish to an open spot. The [official Starlink tripod] or heavy-duty camping tripods on Amazon are easy options.
Magnetic Mounts: A quick, non-permanent solution, popular with weekend vanlifers.
Powering Starlink in a Van
Starlink draws 50–100 watts per hour, which adds up quickly if you’re off-grid. To stay powered up:
Use a dedicated solar setup or portable power station. Models like the [Jackery Explorer 1000] or [EcoFlow Delta 2] can handle Starlink with room to spare.
Consider a battery isolator or DC-DC charger so your alternator helps recharge while driving. The [Renogy DC-DC charger] is a favorite among van builders.
Always track your power use to avoid draining batteries — a simple [battery monitor] will help.
👉 With the right setup, you can have reliable Starlink internet in less than an hour, anywhere your van takes you.
Best Power Options for Running Starlink in a Van
| Power Option | Pros | Cons | Best For | Example Product |
|---|---|---|---|---|
| Portable Power Station | Plug-and-play, reliable, can power other van gear | Higher upfront cost | Weekend trips & full-timers | [Jackery Explorer 1000 on Amazon] |
| Solar + Battery Bank | Renewable energy, long-term savings | Requires install & planning | Off-grid vanlifers | [Renogy Solar Kit + 200Ah Battery] |
| DC-DC Charger | Charges while driving, saves solar capacity | Doesn’t help when parked | Travelers who drive daily | [Renogy DC-DC Charger] |
👉 Pro tip: Many vanlifers use a mix of these solutions. For example, a solar setup for long stays, paired with a DC-DC charger for travel days.
Starlink Costs for Van Life in 2025
Getting Starlink into your van isn’t free, but it’s far more affordable than being stuck without internet when you need it most. Costs break down into two categories: hardware and monthly service.
Hardware Costs
Starlink Standard Kit – about $599–$699 (includes dish, router, and cables).
Starlink Roam (Mobile Kit) – around $599 but with portability features designed for vanlifers.
Optional gear: tripods, mounts, or carrying cases add $50–$200.
👉 Check out the [Starlink Standard Kit on Amazon]. maybe cheaper
Monthly Service Costs
Standard Residential Plan – $120–$140/month (not ideal for vanlifers).
Roam Plan (Mobile) – about $150/month with unlimited use across regions.
Global Roam Plan – $200–$250/month for true worldwide travel.
Hidden Costs to Keep in Mind
Extra power station or solar panels if your van’s current setup can’t handle the Starlink dish.
Protective gear like cases or mounts to keep equipment safe while traveling.
👉 Pro tip: Many vanlifers offset the cost by using Starlink to work online, remote income often pays the bill many times over.
How to Set Up Starlink for Van Life (Step-by-Step)
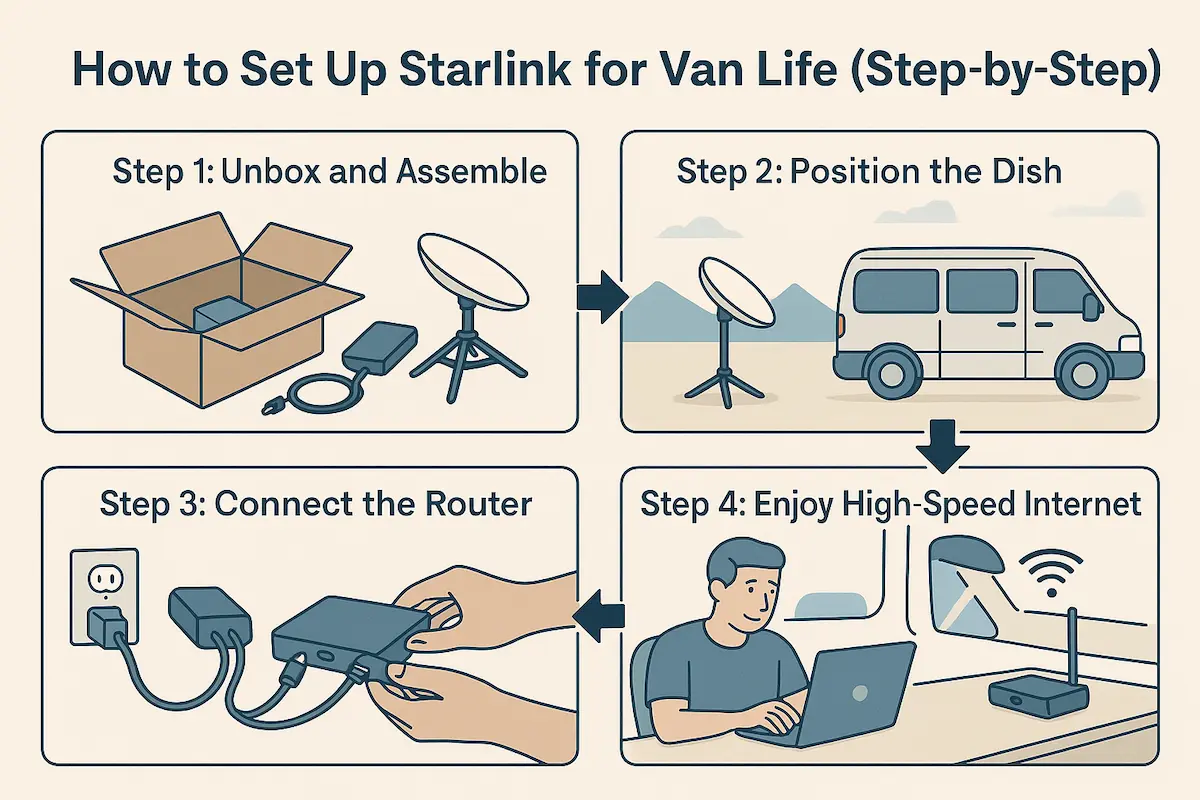
Starlink setup made simple, from unboxing to powering up, these five steps get your van online fast.
Getting Starlink running in your van is easier than most people think. You don’t need to be a tech wizard, just follow these simple steps.
Step 1: Unbox and Assemble
Open your Starlink kit, it comes with a dish, router, stand, and cables.
Set the dish on its stand or mount it on your van.
👉 A roof mount kit or tripod stand from Amazon makes setup sturdier when camping on uneven ground.
Step 2: Position the Dish
Place the dish in an open area with a clear view of the sky.
Avoid tall trees, buildings, or mountains blocking the signal.
👉 Consider a telescoping tripod for flexibility in different camp spots.
Step 3: Connect the Router
Plug the dish into the included router.
Power everything using your van’s inverter, power station, or shore power.
👉 Many vanlifers use portable power stations like EcoFlow or Jackery to handle Starlink’s draw.
Step 4: Use the Starlink App
Download the Starlink app to your phone.
Run the “check for obstructions” tool to find the best placement.
Step 5: Enjoy High-Speed Internet
Once aligned, the dish auto-adjusts to satellites.
You’re online, stream movies, take Zoom calls, or upload van life content without worry
Pros and Cons of Starlink for Van Life
Starlink has quickly become the go-to choice for many vanlifers who want reliable internet off the grid. But like any setup, it comes with trade-offs. Here’s a breakdown of the good and the not-so-good:
Pros of Starlink for Van Life
Global Coverage: Works in remote forests, deserts, and mountains where cell service fails.
High Speeds: Stream movies, attend Zoom calls, or upload videos without lag.
Portable Kit: The Starlink RV kit is designed for mobility, easy to set up and pack away.
Constant Improvement: Speeds and coverage are expanding every year.
Cons of Starlink for Van Life
High Upfront Cost: Hardware runs around $599, plus monthly fees.
Power Hungry: Needs a solid electrical setup (solar + batteries or generator).
Not Always Plug-and-Play: Trees, mountains, or narrow streets can block signals.
Bulky Gear: Dish and stand take up valuable storage space.
Quick Comparison
| Factor | Starlink for Van Life | Cellular Hotspot | Campground Wi-Fi |
|---|---|---|---|
| Speed | 50–250 Mbps (varies) | 5–50 Mbps | 1–20 Mbps |
| Coverage | Global (growing) | Only near towers | Patchy, location-dependent |
| Setup | 10–15 minutes | Instant | None (if available) |
| Best For | Remote digital nomads | Light browsing | Casual use only |
👉 If you’re considering Starlink, you’ll also want to plan your power setup carefully. For more ideas on keeping your van functional and comfortable, check out our post on 50 Must-Have Van Life Accessories on Amazon.
Real-Life Starlink Vanlife Experiences
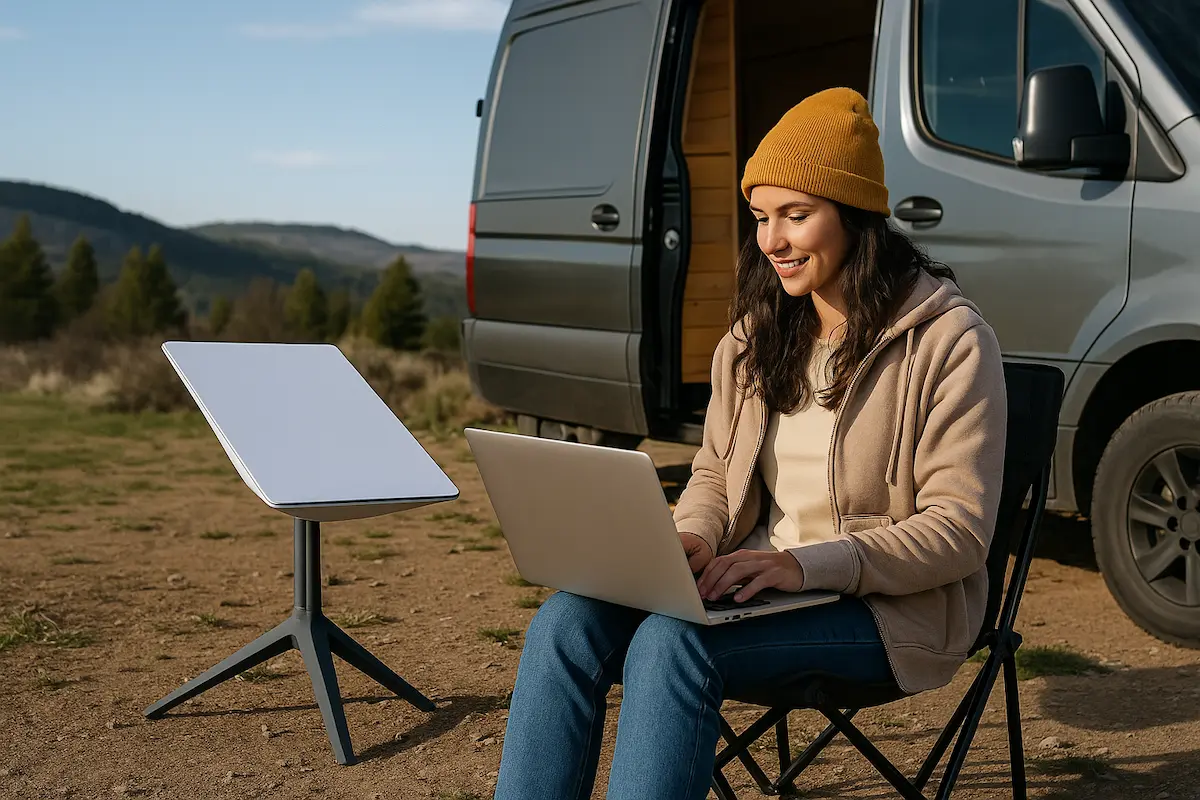
Hearing from other vanlifers who actually use Starlink helps cut through the hype. Here are some real-world takeaways from people living the lifestyle:
Case Study: Remote Worker in the Rockies
“Without Starlink, I’d be offline half the time. I run Zoom meetings daily from a van parked in Colorado’s mountains. The only challenge? Power use, I needed a Jackery 1000 to keep things steady.”
Case Study: Weekend Vanlifer
“I only travel on weekends, but Starlink makes streaming movies and keeping up with emails easy. Setup takes me 10 minutes with a tripod and portable power station.”
Case Study: Full-Time Digital Nomad
“Starlink is a game-changer. It’s not perfect under trees, but compared to campground Wi-Fi or cell hotspots, it’s night and day. I offset the monthly fee with remote freelance work.”
👉 Pro tip: Pairing Starlink with a cellular hotspot as backup gives you the best of both worlds.
Final Thoughts: Staying Connected Anywhere in 2025
Starlink has completely changed the game for vanlifers. With the right setup, you can work remotely, stream, and stay connected almost anywhere your van takes you. Yes, it comes with upfront costs and power demands, but for many, the benefits far outweigh the drawbacks.
If you’re serious about van life and want true freedom without losing connection, Starlink is one of the best investments you can make in 2025.
👉 Ready to take your setup further? Check out our post on 50 Must-Have Van Life Accessories on Amazon, gear that makes van life easier, safer, and way more fun.
- Van Life With Dogs: Safety, Gear & Real Tips (2026 Guide)
- Van Life Cost Calculator 2025: Estimate Your Monthly Van Life Budget
- Starlink for Van Life: Setup, Costs & Internet Guide (2025)
- 30 Van Life Gadgets Under $30 on Amazon (2025 Guide)
- Van Life with Disabilities: Accessible Campervan Living Tips
- 50 Must-Have Van Life Accessories on Amazon
- Best Vans for Van Life 2025 | Top Conversion Picks
- Top 7 Free Vanlife Campsites in the U.S. (2025 Guide)
- Top 5 Power Stations for Van Life in 2025
 >
>
Leave a Reply